This post may contain affiliate links. I receive a small commission if you choose to purchase through the links at no additional cost to you.
“The greatest thing you’ll ever learn is just to love and be loved in return.”-Moulin RougeThis is my all time favorite love quote from one of the greatest love story/musicals Moulin Rouge (if you haven’t seen it, it is one you don’t want to miss). I love this quote because there is so much meaning behind it and it can apply to anyone in your life, not just your significant other. This past weekend, Kit and I celebrated our first Valentine’s together. We had dinner at this cute restaurant and I had a delicious filet mignon and lobster tail. It was definitely one for the books. But what I really enjoyed was the look and happiness that came across Kit’s face when he saw the gifts that I made for him. Since he has just recently moved into a quaint one bedroom house, I figured he needed some housewarming gifts to fill them with. And what better way to do that, then to make him some homemade gifts filled with love.I am not one for impersonal gifting. Cards with money or gift cards are not personal or meaningful to me unless that is exactly what someone asks for. I don’t even think buying a gift is as personal either unless it has meaning. But what I do love is the fact that I love to craft and using my creative mind I am able to put together something that is personal and meaningful because I took the time to create it. For the past few months, I have constantly been seeing chalk message boards all over Pinterest. When I look at some of those prices, however, they are through the roof! So I figured I would make the message board on my own at a reasonable (and might I say very inexpensive cost).  Materials:-wood board (size may vary)-chalkboard paint-white sharpie (substitute-craft paint)-chalk Procedure:1. Paint wood with chalkboard paint using 2-3 coats front and back. Let dry.2. On the top half of the board (vertically) write “I love you because…” in white. I used a white oil based sharpie that was previously used in my Sharpie Mug tutorial. 3. Utilizing the rest of the board, write out a message in chalk.4. Attach the chalk to the board. You could use twine, magnets, tape/glue. 4. Attach a hook to hang it up on the back of the board.
*I added a cute “hello” wood decor (unpainted) as well and it added a more home-y feel to it. Kit loved this because he likes to see quotes or messages as he runs out the door in the morning and it is a good old-fashioned way for us to communicate with each other, because it can constantly be changed.Do you ever find yourself constantly finding change all over the house? In clothing, on the table, on the floor? Well, with Kit, I am constantly finding a penny here, some quarters there and I go NUTS! I absolutely LOVE to collect coins and change in general. Because over time it adds up and it might be that extra cash you need in your pocket. So what better way to save, then to have a place to save it in…KEEP THE CHANGE!
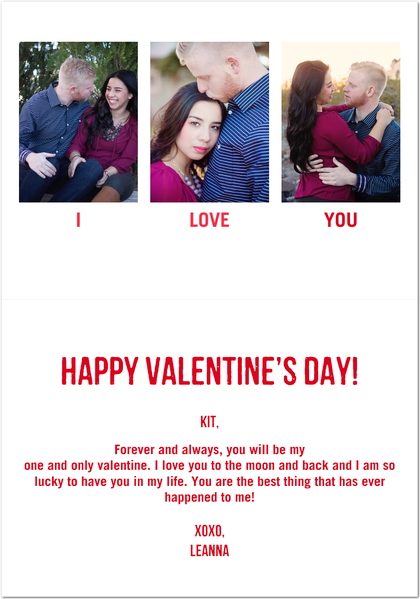
Materials:-glass jar/container-scrapbooking/writing decorations-hot glue Procedure:1. Using rubbing alcohol or glass cleaner, clean the jar to remove excess oils. 2. Using scrapbooking materials, spell/write out “Keep the Change”. I found cork board pennants in the clearance section in Michaels and used them to write this out.3. Hot glue them to the jar, to insure they will stay on! The last gift that I decided to make was a family sign to welcome and invite people into Kit’s new home. I thought what better way than to express to people who lives in this home as well as to making it feel like an actual home that Kit can love.  Materials:-ceramic sign (Michaels has tons of options)-craft paint-white sharpie-scrapbooking materials-clothespins-hot glue Procedure:1. Paint the sign with 2-3 coats of paint. I decided on red as I felt it stood out, yet it was still neutral enough for the home. Let dry.2. Paint the clothespins (or buy pre-colored clothespins).3. Using scrapbooking materials (I used the cork board flags from the clearance rack in Michaels) spell out your last name (I used the white sharpie again).4. Hot glue clothespin with individual cork flag onto the ceramic sign and let dry.I loved making these gifts because they felt so housewarming and personal to me as well as to Kit. I think his favorite however was the personalized card I made for him online using Treat. During the holiday, this website had a FREE card using a Valentine’s Day Promo Code. Yay for FREE stuff!
Here are some more closeups of the gifts I made for him.
What did you do for VALENTINES?


Your gifts are awesome!! I loved them thanks for sharing them with us!! You are so sweet, Kit is very lucky to have you in his life!! As well as us too!! Love ya Sweetie!!! 🙂
Thank you! I am lucky to have him in my life as well, he makes it all worth while! xoxo